The Story of “Café Aroma” – How a Simple Idea Became a Cinematic Masterpiece
Great videos aren’t about fancy gear or luck—they’re about a structured process
Lena had a dream: to make her small coffee shop, Café Aroma, the most Instagram-worthy spot in town. But she knew that grainy smartphone clips wouldn’t cut it. She wanted a professional-quality brand film that would tell her story—the rich aroma of her handcrafted brews, the cozy ambiance, and her customers’ genuine smiles.
Enter Amit, a filmmaker friend who offered to help. “Great videos don’t just happen,” he said. “They’re built step by step.” What followed was a crash course in the three crucial stages of video production—and how they transformed Café Aroma’s brand.
Phase 1: Pre-Production – Where the Magic Begins
1. Concept & Scripting
Amit sat down with Lena to answer the big questions:
- What’s the goal? (Brand storytelling? A product promo?)
- Who’s the audience? (Coffee lovers? Remote workers?)
- What’s the mood? (Warm and rustic? Modern and sleek?)
They settled on a 60-second brand film highlighting Café Aroma’s “farm-to-cup” philosophy. Amit drafted a simple script and a shot list—close-ups of coffee beans grinding, steam rising from a fresh pour, and customers laughing in golden-hour light.
2. Planning & Logistics
- Location scouting: They picked early mornings when the café was quiet.
- Equipment checklist: Amit brought his APSC camera, a tripod, a reflector, and a lapel mic.
- Talent prep: Lena rehearsed her voiceover, and regular customers agreed to be “extras.”
Lesson: Pre-production is 50% of the work. The more you plan, the smoother filming goes.
Phase 2: Production – Lights, Camera, Coffee!
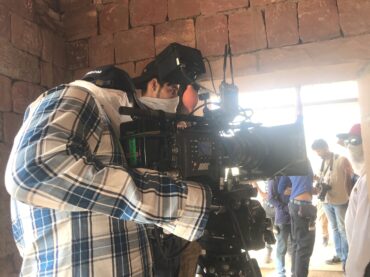
1. Setting the Scene
Amit arrived before sunrise to:
- Control lighting (used natural light from windows + a bounce reflector).
- Frame shots carefully (rule of thirds, leading lines toward the espresso machine).
- Capture B-roll (slow-motion pours, textured close-ups of coffee foam).
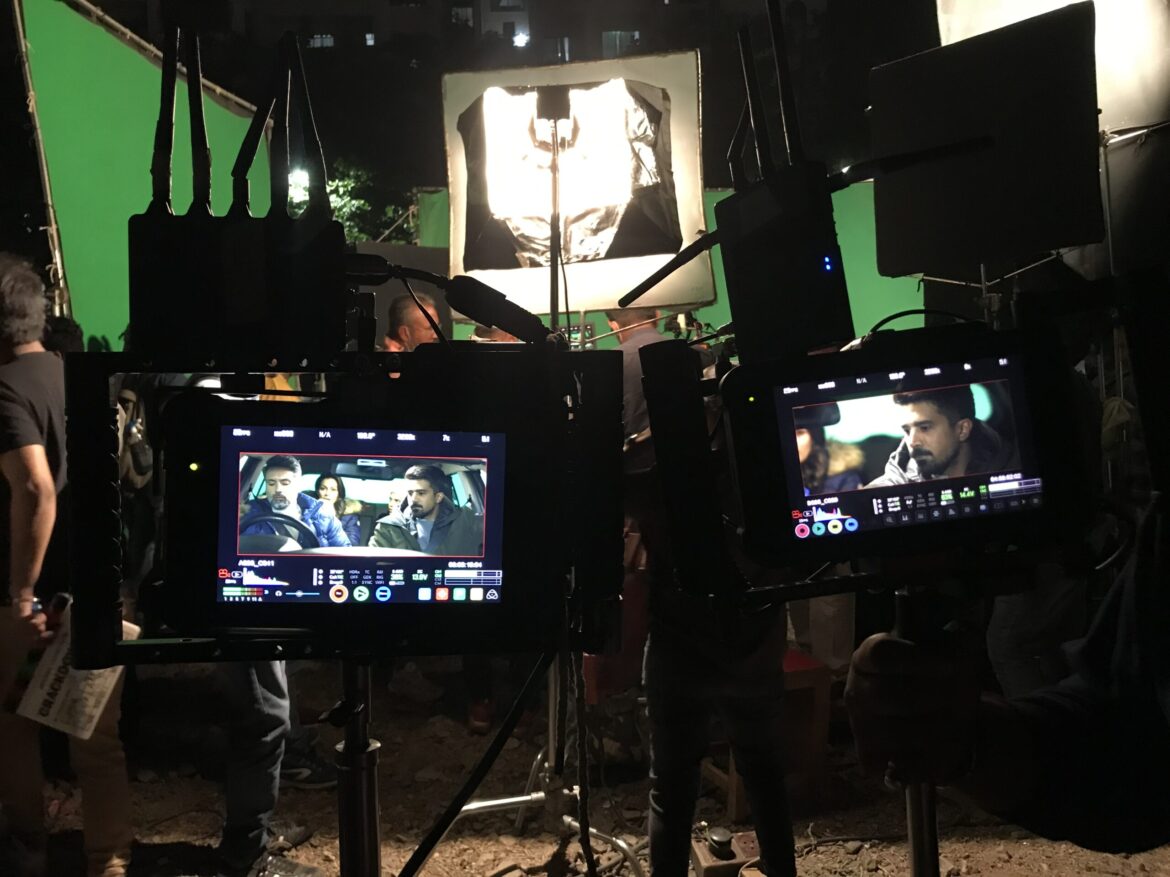
2. Directing the Shoot
- Multiple takes: They filmed Lena’s introduction 10 times to get the perfect tone.
- Sound matters: A lapel mic ensured crisp audio over café background noise.
- Staying flexible: When a regular customer shared an emotional story about Café Aroma, Amit improvised and filmed it—turning it into the video’s most powerful moment.
Lesson: Production is about preparation + adaptability. Even a low-budget shoot can look pro with the right techniques.
Phase 3: Post-Production – Where the Story Comes Together
1. Editing the Narrative
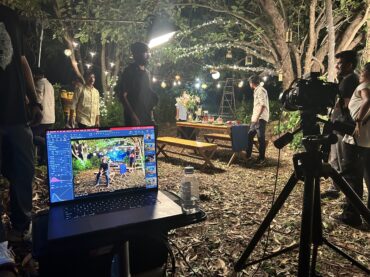
Amit used DaVinci Resolve (a free but powerful editor) to:
- Cut the best takes into a cohesive flow.
- Color-grade for a warm, inviting look.
- Layer sound (added light jazz music, subtle coffee-machine ambience).
2. Adding Polish
- Text overlays (Café Aroma’s tagline: “Brewed with Passion”).
- Transitions (smooth cuts between scenes).
- Final export (optimized for Instagram, YouTube, and in-store screens).
3. Feedback & Revisions
Lena watched the draft and asked for small tweaks—a longer hold on the logo, a brighter close-up of the pastry case. Amit made the adjustments in under an hour.
Lesson: Editing transforms raw clips into emotion. Don’t rush this phase!
The Grand Reveal – Café Aroma’s Brand Film
When the video launched:
- Instagram engagement tripled—comments like “I NEED to visit this place!” flooded in.
- Local influencers asked to collaborate.
- Foot traffic increased by 40% in a month.
Lena was stunned. “I thought only big companies could make videos like this!”
Amit grinned. “Nope. Just follow the process.”
Great videos aren’t about fancy gear or luck—they’re about a structured process:
- Pre-production (Plan meticulously).
- Production (Shoot with purpose).
- Post-production (Edit for impact).
Whether you’re a café owner, a startup, or a freelancer, understanding these steps lets you create pro-level content on any budget.